How to upload your signature to Outlook (HTML signature)

Some HTML Considerations
The disadvantage of using HTML signatures is you can only use these if your Outlook message format type is HTML. It won’t work if you send plain text emails or rich text formats. In fact, you won’t even see the signature listed in the drop-down list. Outlook omits it. Another issue is that these HTML signatures require you to put your CSS code in the .HTM file. Often designers use tables and cells so that the code can get pretty elaborate. And you’ll want to verify any image such as a logo or social media icon is accessible from the internet and not locally stored on your computer.
Adding the Outlook HTML Signature
There are 2 ways you can add your signature file. The first is best if you plan to use it regularly, such as automatically adding the email signature to all new emails. With this method, it will show in your Signature drop-down list.
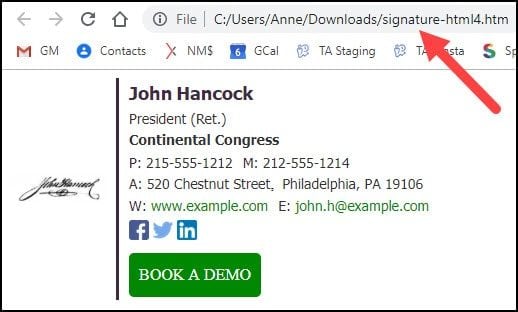
Before you start, I’d suggest making sure your HTML template file renders properly in the browser. If it doesn’t show correctly in a browser, it will most likely fail in an email. In the example below, I’ve used Google Chrome to open my .htm file.
Method 1
- Rename your email signature file if needed. Outlook will use the portion before the .htm as the email signature name.
- Test your .htm file in a browser.
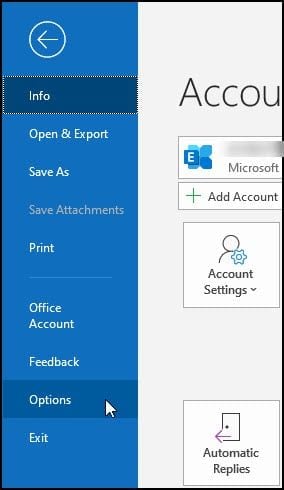
- From the File menu, select Options.
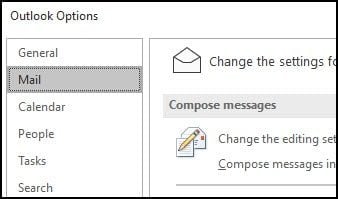
- From the Outlook Options dialog, click Mail.
- On the right side, press CTRL and click the Signatures… button.
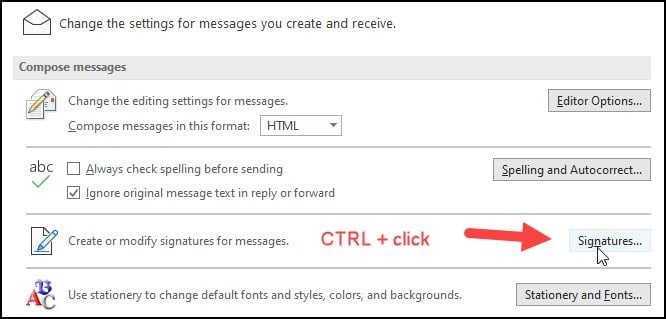
This will open the apps folder that contains your Microsoft Outlook signatures. Usually, it is the appdata\roaming\microsoft\signatures folder.
- Copy your .html file into this folder.
- Make sure your Compose messages in this format: shows as HTML.
- Close the folder and return to Outlook Options.
- Click OK.
Your newly added HTML email signature should show in your Signature drop-down list. You should go to Outlook’s Signatures and Stationery dialog and make sure you’ve assigned this to the proper account and if it should apply to new messages as well as replies and forwards.
Method 2
Inserting an HTML File in an Email
Another approach some people take is to insert their HTML file directly into the email. This would be good for one-off scenarios. I wouldn’t want to do this process all the time because it requires more steps. The first process can automatically add them.
This method’s benefit is you can use it for almost any type of HTML file and not just email signatures. And that includes both .htm and .html file extensions. The downside is you have to add in a command that probably doesn’t show on your Quick Access bar.
The command is related to Attach File. Now, that command does exist on the Insert menu when you’re in Email. However, it doesn’t display some sub-commands. In particular, Insert as text.
- Open Microsoft Outlook.
- From the File menu, select Options.
- On the Outlook Options dialog, select Quick Access Toolbar.
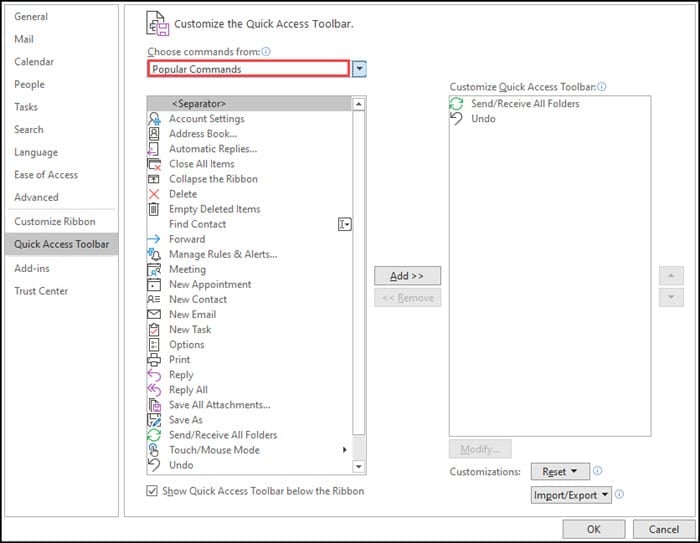
- From the Choose commands from: drop-down, select All Commands.
- Scroll down the list and select Attach File…

- Click the Add button. Your command will move to the right side.
- Click OK.
- Click the New email button.
- Click the Customize Quick Access Toolbar and check Attach file. You’re just checking that the sub-command is enabled.

- Write your new email.
- Move your cursor to the end of the email and click the paperclip button on the Quick Access Toolbar.
- The Insert File dialog opens. Navigate to the folder with your HTML email signature file.
- Choose your Outlook email signature file.
- Click the small triangle next to the Insert button.
- Select Insert as Text from the drop-down menu.

Your new HTML signature will be inserted into the email.
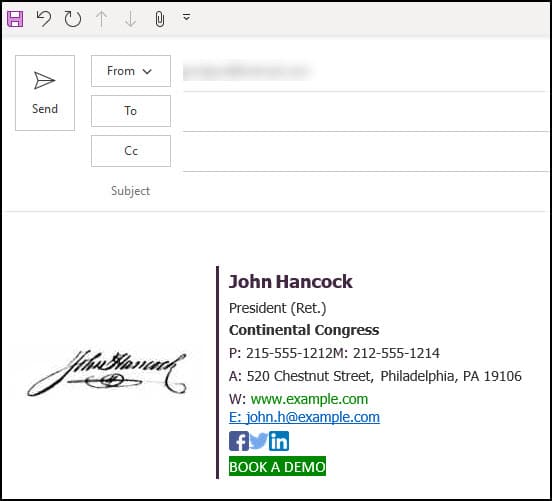
While using an HTML signature is a nice feature, try not to complicate things with your design unless you love HTML and CSS. To give an example, while the signature I created above may look great as 2 columns with images, it doesn’t work well for people viewing on a mobile phone. You always want to test these items before putting them into production.