How to Update DNS Records in Virtualmin
Overview
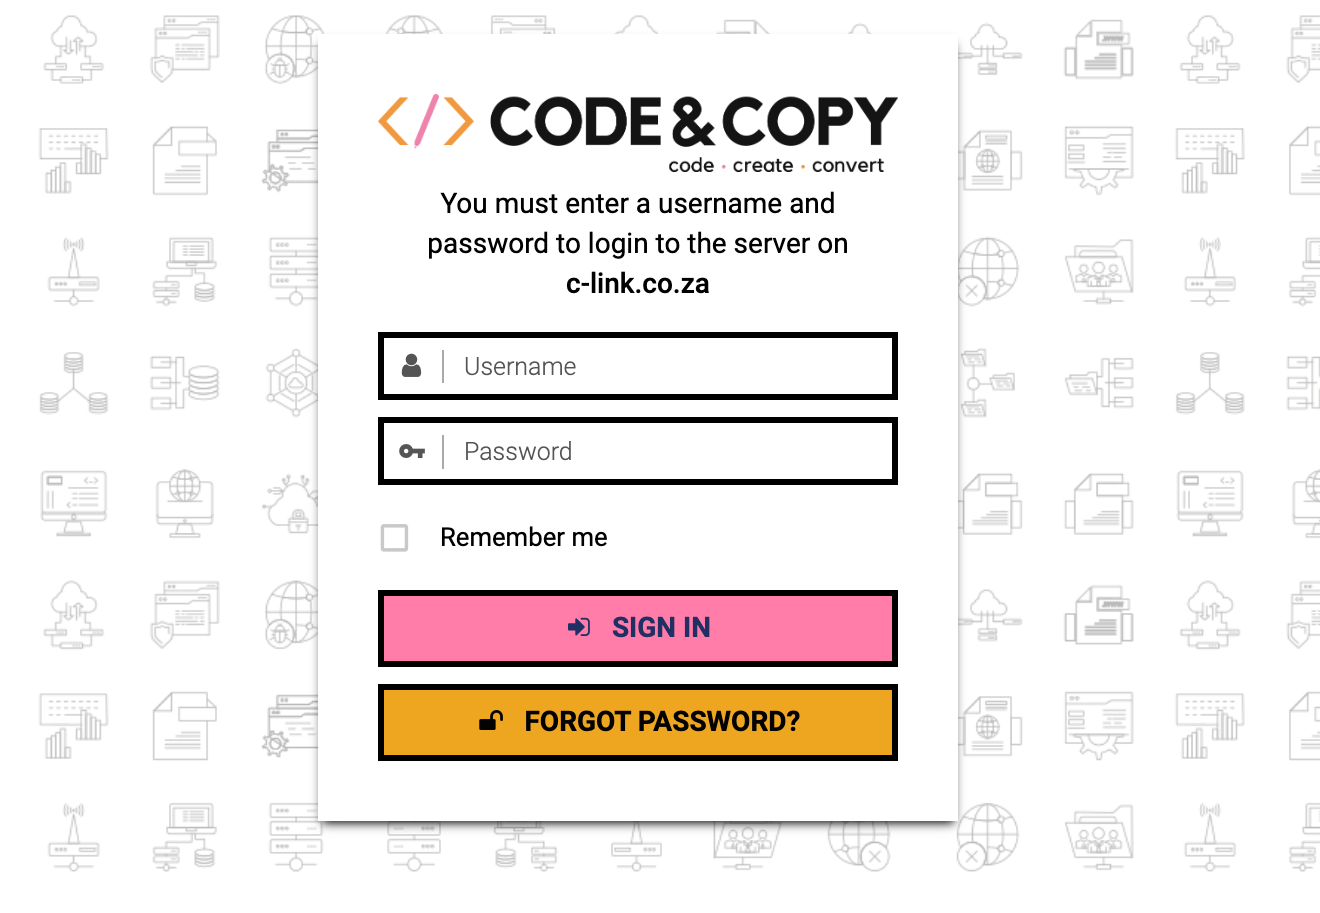 Step 1: Log in to Virtualmin
Open your Virtualmin login page.
Enter your domain admin username and password.
Click Sign In.
Once logged in, you should see your Virtualmin dashboard.
Step 2: Select the Correct Domain
Use the domain selector in the left-hand menu.
Select the domain you want to update.
Confirm that the correct domain is active before making changes.
This is especially important if your account has access to more than one domain.
Step 3: Open DNS Records, Add Records
- In the left-hand menu, go to DNS Settings.
Click DNS Records.
You should now see the DNS records for the selected domain.Select the required record type, such as A, CNAME, MX, or TXT.
from the dropdownClick the create Record of type Button
Enter the details supplied by your service provider.
- Save the record.

Example:
| Field | Example |
|---|---|
| Type | CNAME |
| Name | www |
| Value | example.hostingprovider.com |
| TTL | Default or Auto |
Step 5: Edit an Existing DNS Record
Find the record you need to update.
Click on the record to open it.
Update the required field.
- Save the record. (This might take a few seconds)

Avoid changing unrelated records, especially email-related
records such as MX, SPF, DKIM, and DMARC.
Step 6: Delete a DNS Record
Find the DNS record you want to remove.
Select the record.
Click Delete Selected or the relevant delete option.
Confirm the deletion if prompted.

Important Note About Cloudflare
Our DNS setup uses the Cloudflare integration in Virtualmin.
This means that DNS changes made inside Virtualmin may be pushed to Cloudflare, depending on the domain configuration.
However, please keep the following in mind:
If Cloudflare is active for the domain, Cloudflare is usually the public DNS provider.
DNS records should not be updated in multiple places unless instructed.
If a record does not appear to update correctly, it may need to be checked in Cloudflare.
Some records may have Cloudflare proxy enabled, shown as the orange cloud in Cloudflare.
Email-related records such as MX, SPF, DKIM, and DMARC should usually remain DNS-only and not proxied.
If you are unsure whether a DNS record should be proxied or DNS-only, please contact support before making changes.
DNS Propagation
DNS changes are not always instant. Most updates begin working within a few minutes, but some changes can take longer depending on DNS caching and TTL settings. Allow up to 24 to 48 hours for DNS changes to fully propagate globally.

When to Contact Support
Please contact support if:
You are unsure which DNS record to update
The record is related to email delivery
Cloudflare proxy settings are involved
The update has not reflected after a reasonable amount of time
You need to update nameservers
You see Cloudflare or Virtualmin sync errors
When logging a support ticket in our support portal, please include:
| Detail | Example |
|---|---|
| Domain | example.co.za |
| Record type | A, CNAME, MX, TXT |
| Current value | Existing record value |
| New value | Value supplied by your provider |
| Reason for change | Google verification, email setup, website migration |
| Screenshot | Screenshot of the record, if available |
Summary
To update DNS records as a domain admin:
Log in to Virtualmin.
Select the correct domain.
Go to DNS Settings → DNS Records.
Add, edit, or delete the required record.
Apply changes if prompted.
Allow time for DNS propagation.
Contact support if Cloudflare, email, or sync settings are involved.
Related Articles
Change / update or repair email account settings in Outlook for Windows
Sometimes you need to make a change to your email account settings. If you have a new password, if your email provider has asked you to change settings, or if you're having problems with sending and receiving email, you can change your email account ...How to reset your Email and Usermin Password
Virtualmin/Webmin like WHM/cPanel has separate login pages to manage your server, website and even WebMail. In Virtualmin the WebMail interface is called Usermin, however you can do more than just read your emails using this interface. You can also ...Archive Outlook for Windows
There are several ways to archive messages in Outlook. The methods that you can use depend on the type of email accounts that you have set up in Outlook. All accounts have access to an Archive folder. For Microsoft 365, Outlook.com, and Exchange ...